- Follow the procedures below to replace the waste ink tank.
Replacing the Waste Ink Tank:
1. On the LOCAL mode screen, select [MENU] > [Maintenance], then press the [ENTER] key.
The Maintenance menu is displayed.
2. Select [Waste Ink Tank], then press the [ENTER] key.
"Replace Wasteinktank Level: 80 % (1.6 L)" appears on the display.
3. Select [Reset Waste Ink Volume], then press the [ENTER] key.
The amount of ink in the waste tank becomes "0%".
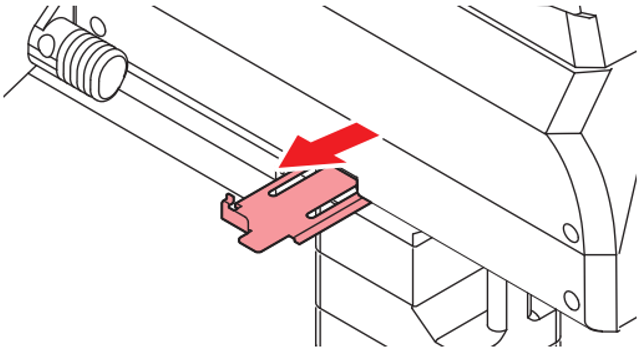
4. Pull the waste ink tank stopper forward.
The waste ink tank can now be removed.
5. Hold the handle on the waste ink tank and slide out.
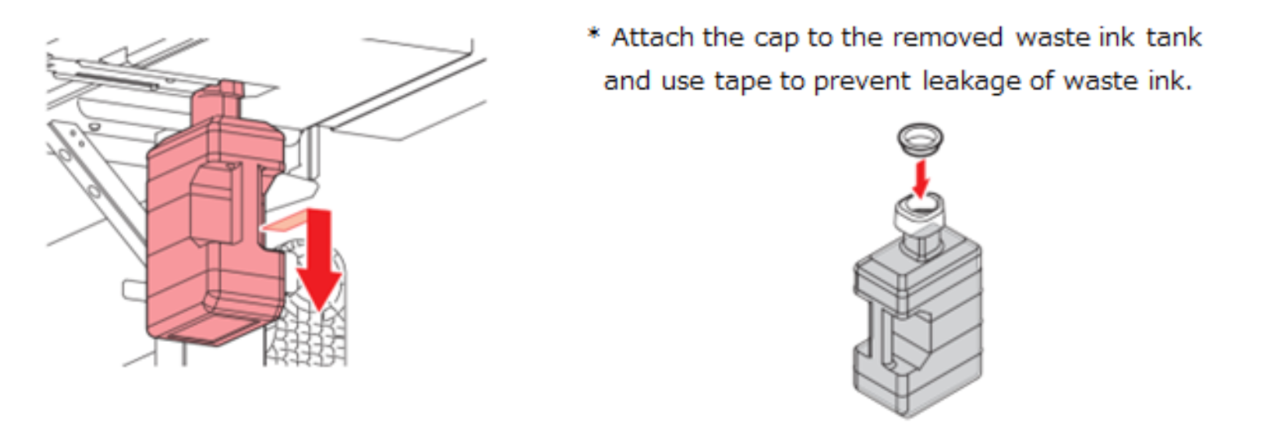
For specific processing, please see the FAQ : How do I discard ink in the waste ink tank?
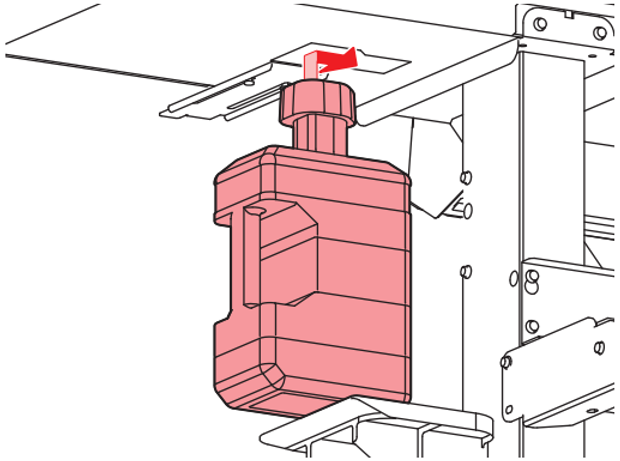
6. Mount a new waste ink tank.
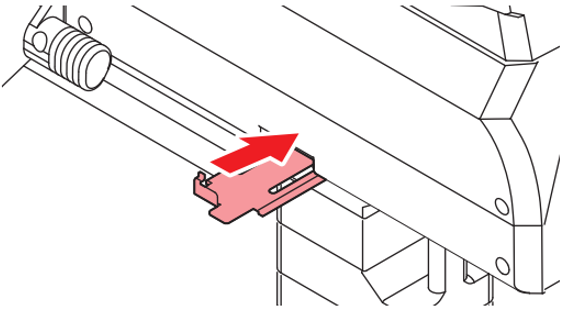
7. Close the waste ink tank stopper.
8. Press the [ENTER] key.
The waste ink level will be reset.